
Radiant floor systems are comprised of many different components. Some are small and some are larger. Lets looks at what goes into a floor heating system. We will discuss more about the installation process and the best type of flooring to use for the job. Let’s dive in!
What equipment is required for radiant floor heating?
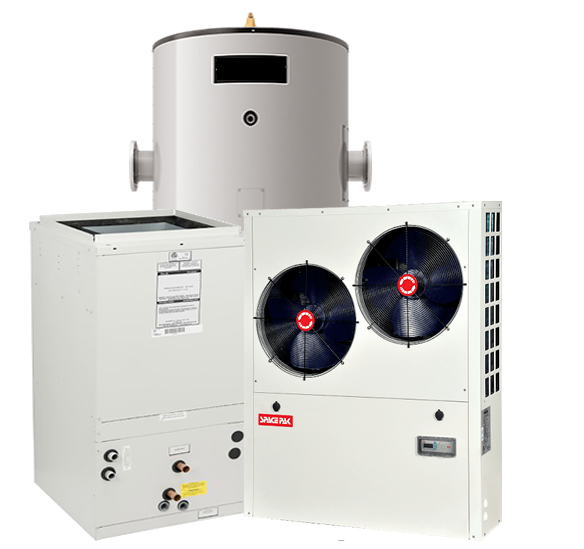
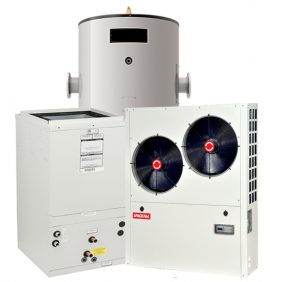
1. The Boiler
Boiler selection is critical, and it is important to know that conventional boilers work in a much hotter range, losing efficiency, and requiring protective measures to prevent damage to themselves or the floor. Modern boilers on the other hand, are specifically engineered to operate at these lower water temperatures, increasing your energy savings and comfort.
The heat required by most residential radiant floor heating systems can vary greatly, boilers are the best choice for matching the heat output to the load.
Modern boilers also have built-in logic that will operate your radiant floor on “cruise control”, slowly changing the water temperature based of information it receives from an outdoor temperature sensor. More about boilers here
2. Boiler components
The boiler and floor loops will have many small very important components installed with them. These include but are not limited to:
- Circulator Pumps: Force hot water through the plumbing system
- Expansion Tank: Boiler expansion tanks are metal tanks of varying sizes that are installed to absorb the initial pressure increase that occurs when the boiler water heats up
- Pressure relief valves: Safety device prevents boiler explosions by releasing temperature and pressure if other safety controls fail
- Air elimination components: Automatic air purging devices referred to as air scoops, air purgers, or air separators vary in internal design, but all are intended to capture air in hot water piping, sending it either to an expansion tank or to an air bleeder/air vent
- Dirt separator: The dirt separator removes these dirt particles, collecting them in a large collection chamber from which they can be flushed even while the system is in operation.
- Mixing Valves: To temper outgoing domestic hot water from or to help control radiant floor heat temperature
- Service Valves: All for servicing of the system without a complete shut down
- Zone valve: Control hot water circulation through multiple heating zones
- Zone controllers: Low voltage controllers for managing multiple calls for heat from different zones in the home
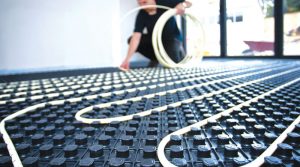
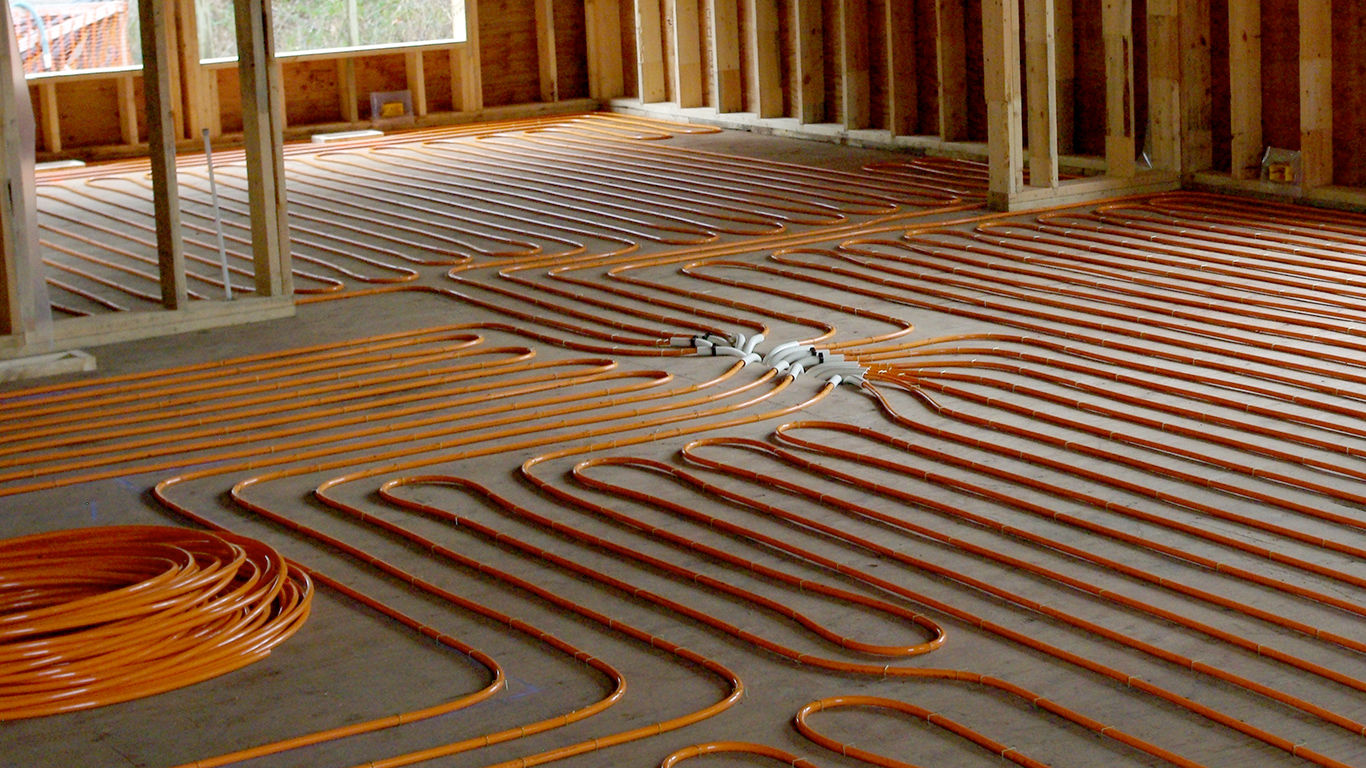
3. The tubing
We typically use two different varities of tubing in our floor loops. A PEX line (cross-linked Polyethylene). This product is typically used in slab or thin-slab applications, but can also be installed under a frame floor with the use of heat transfer plates or clips.
For under joist or where complex bends are needed like stairs in a snow and ice melt system we us Watts Radiant’s Onix tubing. It’s the most diversified product in the market today. It is the only product that can be installed under a frame floor with no additional accessories required (no heat transfer plates, no special clips). Since the Onix does not expand or contract with temperature changes, it is the quietest system around.
As long as the tubing chosen is installed properly and per the manufacture’s recommendations, the radiant heat system will perform beyond expectations.
4. Manifolds
Manifolds are like the “heart” of a radiant floor system. Plumbing manifolds are that central place where water is distributed into smaller pipes and sent through the radiant heat system. Manifolds are used to distribute water in radiant, snow-melting, and hydronic applications.
These centralized systems are made of adapters, end caps, and fittings that normally are designed or specified in customized manifolds depending on the intended application. They also have individual shut-off valves allowing to turn-off a single fixture or a specific conduit without affecting other areas of the building. The water valves should be identified to indicate which plumbing fixture is being controlled from that specific valve.
5. Controls
Regular forced air heating thermostats are not well suited to operating radiant floor heating systems. These thermostats turn on the radiant floor when the air is below the temperature setting, and shut off when it’s above the temperature setting. The result is the floor tends to shoot past the air heating temperature when heating and then does not turn back on until the floor temperature is cold. It can be quite unpleasant riding this temperature rollercoaster!
We prefer Tekmar radiant thermostats. Their thermostats use Pulse Width Modulation and Indoor Temperature Feedback technology to periodically pulse the floor with the right water temperature so that the floor maintains a steady constant temperature, thereby maintaining optimal comfort.
Tekmar thermostats also include the option to install a floor temperature sensor. The sensor is used to provide the following options:
- Hardwood floor temperature limiting. Hardwood floors can dry out and suffer damage due to thermal expansion. tekmar thermostats allow a maximum floor temperature to be set. Many hardwood flooring companies specify a maximum temperature of 85ºF (30ºC)
- Maintain a minimum floor temperature. This is especially useful in bathrooms. By maintaining the floor between 80 to 85ºF (25 to 30ºC), the floor feels warm to the touch.
- Maintain comfort in rooms with large amounts of southern facing glass windows. These rooms are often overheated during the day by solar gain through the windows. Typically this could result in the radiant floor going cold during the day. By maintaining the floor near the desired room air temperature, the room remains comfortable, even when the sun sets in the evening.
How do you install radiant floor heating?
Radiant heating systems are installed in floors using wet or dry construction methods. It is compatible with a variety of floor coverings, including hardwood, carpet, vinyl, ceramic tile and natural stone. Radiant heating may also be installed in walls and ceilings using the dry panel construction.
Wet construction methods
- Concrete Slab: First a radiant insulation panel is laid on a level gravel base. The tubing is then routed in the panel as per the design. A thick layer of concrete is poured encasing the tubing then leveled. Typical applications are basements, garages or snow and ice melt systems.
- Over pour: The tubing is directly laid on top of a subfloor and secured. A light weight concrete or other suitable material is poured over the tubing. Its important to insulate underneath the tubing to direct the heat upwards. Typical applications are any floors above the basement structurally able to support the added weight. An existing thick concrete slab can also work with the over pour method as part of a major renovation.
Dry construction methods
- Below subfloor staple up: Radiant tubing is fastened to the underside of the subfloor with clips. Insulation below the tubing and at joist ends is recommended to ensure heat transfers in the desired direction.
- Below subfloor panels: In a dry plate radiant heating system, pipes are installed in the joist spaces under a suspended wood floor. Heat transfer plates are used to evenly distribute the heat, increasing the efficiency of heat transfer from the pipe to the bottom of the subfloor. Insulation is still recommended to ensure heat transfers in the desired direction
- Above subfloor panels: A dry panel radiant heating system is installed directly on top of the subfloor without a concrete overpour. Pipes are installed in a grooved conductive panel. Dry panel systems are considered low mass and offer faster response times compared with wet systems.
What kind of flooring can you use for radiant floor heating?
Any floor covering can be used with a floor heating system. The key is to ensure the radiant design considers the floor covering you will be using. Different floor coverings will have different R-values (their ability to restrict energy transfer). Carpet is more restrictive than tile, but can still be used. The difference is usually a slightly higher supply water temperature.
Carpet: There are various reports that carpet can not be used over a radiant system. The truth to the matter is that carpet works just fine, if the system is designed with carpet in mind. There is a greater range for error with carpet, depending on the combination of pad and carpet used. An ideal R-value for a carpet and pad is around 2.0 or less.
Hardwood: Wood is what is referred to as being hydroscopic, which means it will act like a sponge. If the wood is installed dry, it will absorb moisture and expand. To help eliminate errors associated with hardwood floor installations:
- Use strips, not planks. Ideal width is 3″ to 3.5″ in width.
- Use kiln dried wood.
- Make sure the wood is between 7% and 10% moisture content when it is installed.
- Make sure the support floor below the wood is no more than 4% higher moisture content than the hardwood.
- Quarter sawn wood will respond better than a plain sawn wood.
- Try to keep the room’s relative humidity between 35% and 50%.
Tile or Stone: One of the main concerns with regard to tile is cracking. There are three main reasons why tile cracks: deflection, moisture and crack migration from the substrate. Some simple guidelines can be followed to minimize these concerns.
- Always install the substrate per TCA (Tile Council of America). This may include a cement backerboard, thick set, double layer of plywood or a thin slab.
- Do not run the radiant system until the substrate has cured. A minimum of 7 days is required, 15 days is better and 28 days is ideal.
- Install a crack suppressant membrane. This will help retard any crack progress that may originate in the substrat